Our software is built on top of our CHROMA Platform, which enables advanced user functionality. Your first step to using Microdose is creating an account and purchasing a license.
https://www.youtube.com/watch?v=-1Q_aAeQg-k
Getting Started
Introduction
Step 1
Installation
Installing and updating Microdose versions (aka builds) is managed using the CHROMA Hub desktop software. Download & run the installer. When launched, it will require you to login with your account.
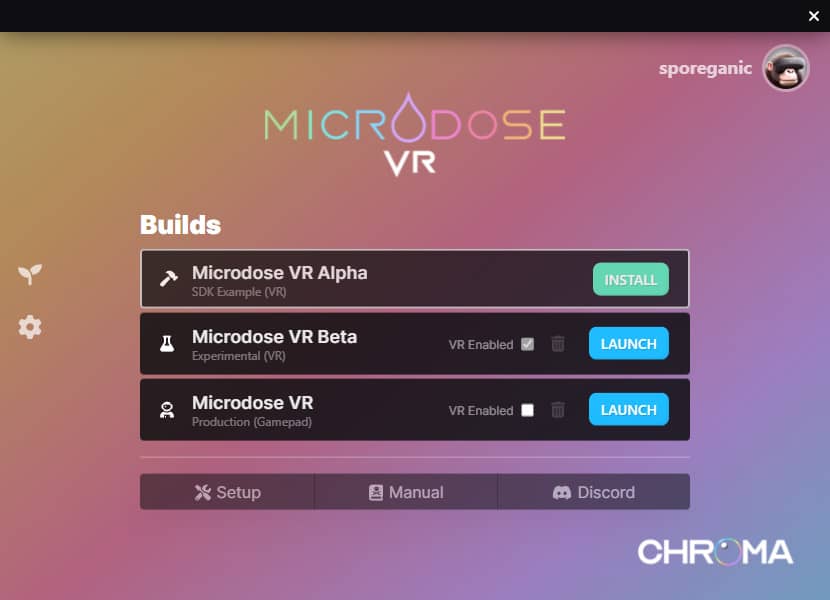
On the Hub you will see a list of available builds (alpha, beta & the full version). Currently VR only works on Alpha & Beta, while Gamepad Mode only works on the full version (full support for each build coming soon).
Before installing a build, you will need to obtain the required prerequisites by clicking on the Setup button on the bottom of the Hub.
Click the Install button on the build you wish to use first, and wait for the download & installation process to complete. When it is done, you will see a Launch button in its place.
Step 2
Overview
Microdose can be run using a VR headset, or with a Gamepad. Checkout our new Gamepad Guide to learn about the controls, and the old VR Guide for more information on each.
TouchOSC
As the UI continues to be filled out on each input type, you will want to use the TouchOSC Layout to have full control.
Using the OSC layout, you can change Worlds, Collections (of brushes) & Brushes. You can modify many other parameters, but these are the initial ones that will want to explore.

Worlds
There are many worlds in the Microverse. Each has different environments to explore and brush collections to use.
Collections
A Collection is a list of related assets, most often Brushes. You can change your brush collection on the Brushes tab of the OSC layout.
Brushes
Brushes are the type of asset that you will most interact with. Each is a unique tool for visual creativity.
Step 3